Deploy Redis on KubeSphere
Redis is an open-source (BSD licensed), in-memory data structure store, used as a database, cache and message broker.
This tutorial walks you through an example of deploying Redis from the App Store of KubeSphere.
Prerequisites
- Please make sure you enable the OpenPitrix system.
- You need to create a workspace, a project, and a user account (
project-regular) for this tutorial. The account needs to be a platform regular user and to be invited as the project operator with theoperatorrole. In this tutorial, you log in asproject-regularand work in the projectdemo-projectin the workspacedemo-workspace. For more information, see Create Workspaces, Projects, Users and Roles.
Hands-on Lab
Step 1: Deploy Redis from the App Store
-
On the Overview page of the project
demo-project, click App Store in the upper-left corner. -
Find Redis and click Install on the App Information page.
-
Set a name and select an app version. Make sure Redis is deployed in
demo-projectand click Next. -
In App Settings, specify persistent volumes and a password for the app. When you finish, click Install.
Note
To specify more values for Redis, use the toggle switch to see the app's manifest in YAML format and edit its settings. -
Wait until Redis is up and running.
Step 2: Access the Redis terminal
-
Go to Services and click the service name of Redis.
-
Under Pods, expand the menu to see container details, and then click the Terminal icon.
-
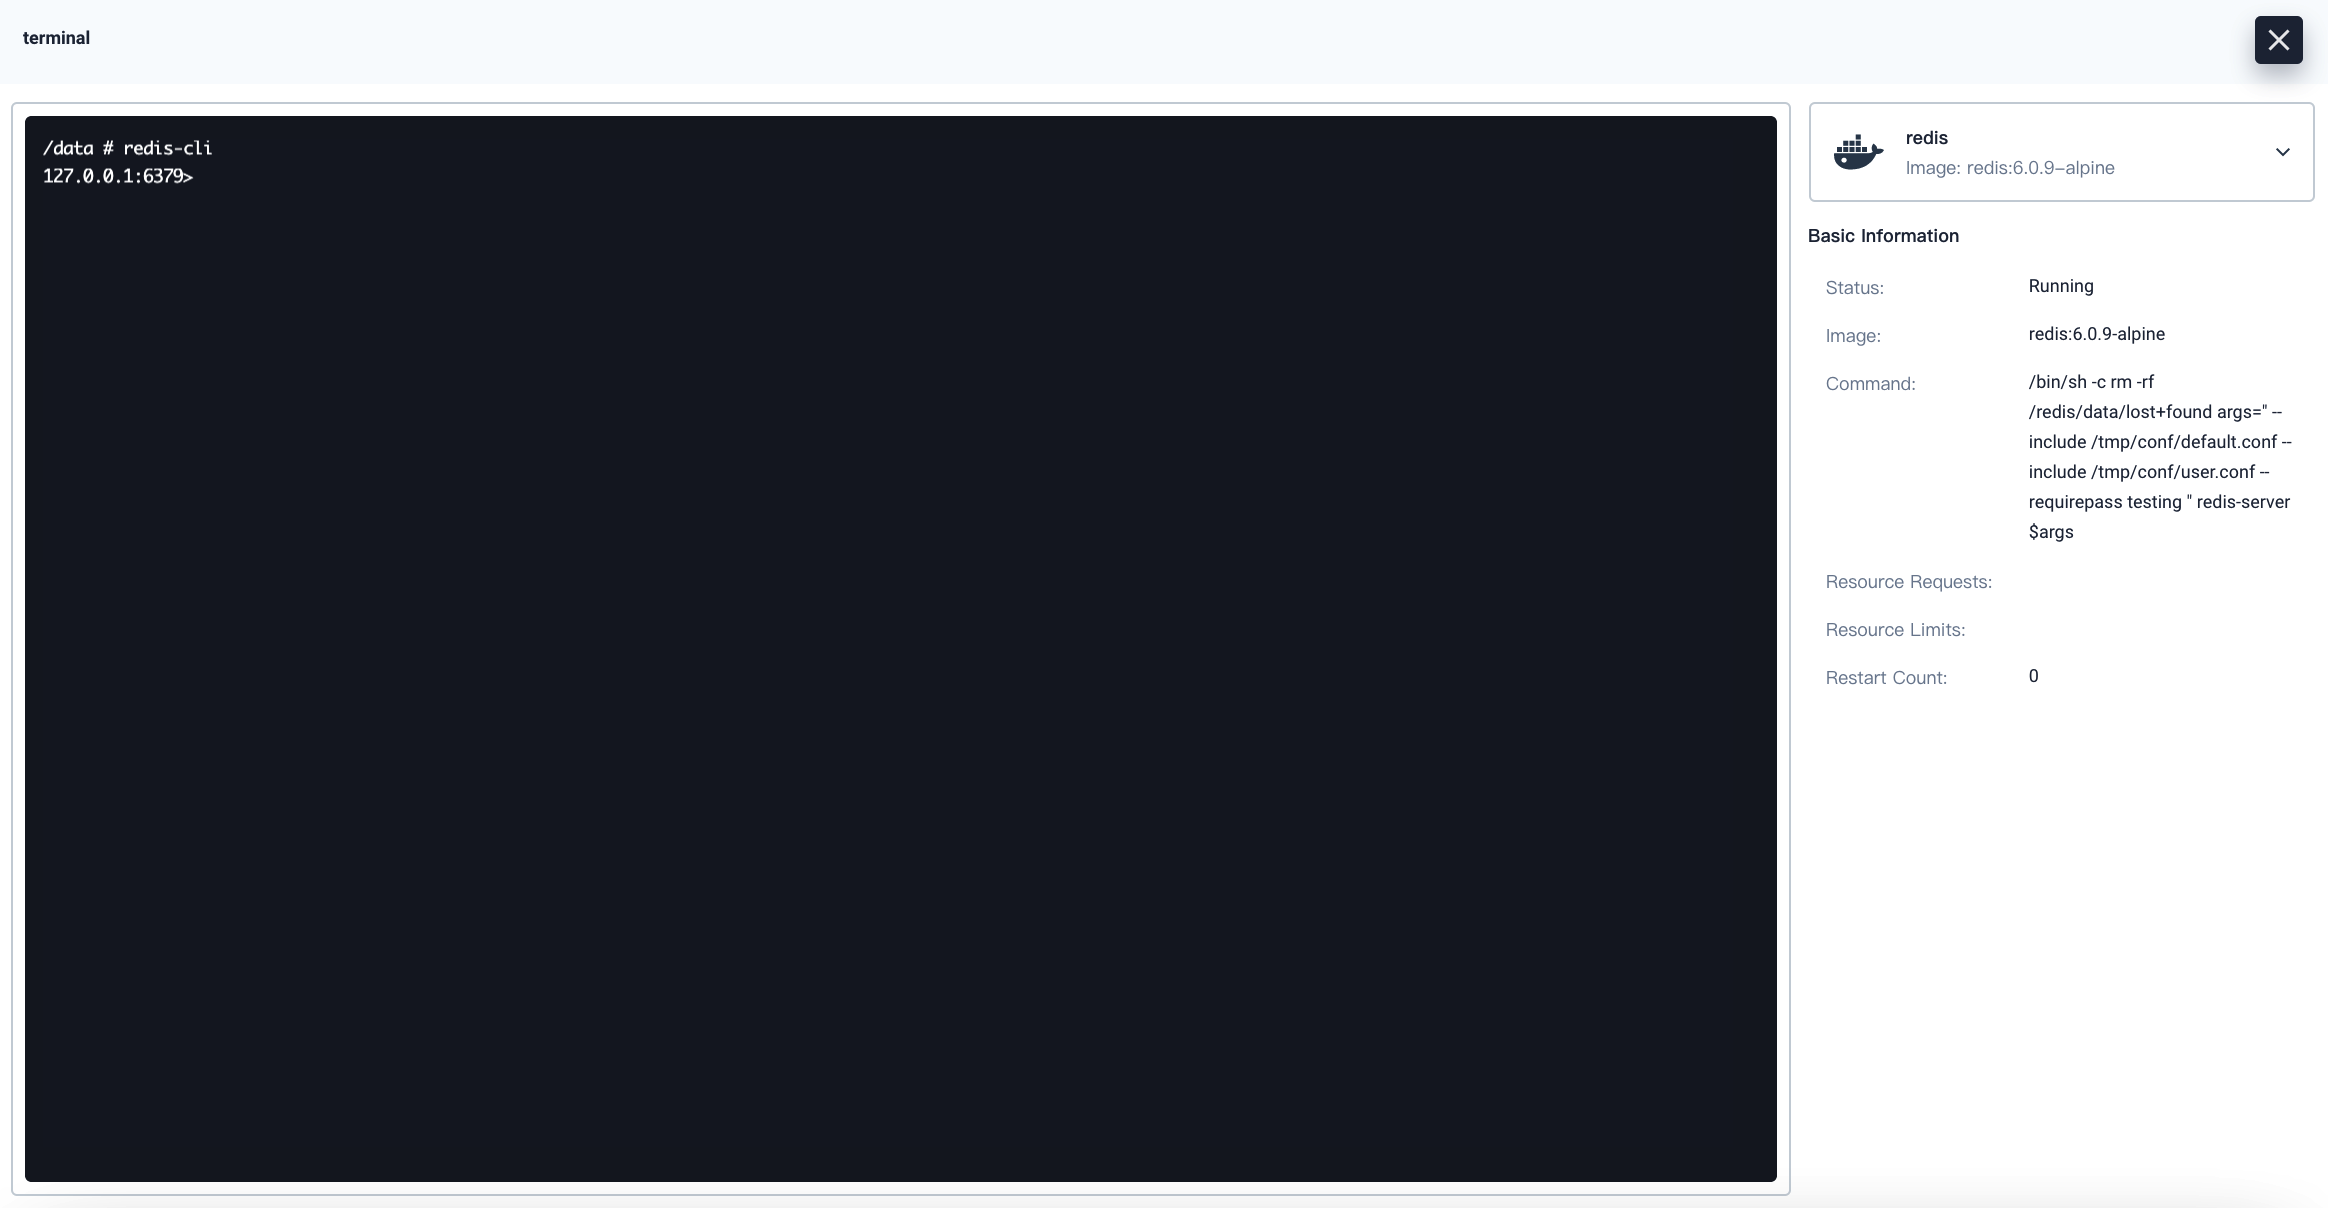
In the pop-up window, use the
redis-clicommand in the terminal to use the app.
-
For more information, see the official documentation of Redis.
Feedback
Was this page Helpful?
Receive the latest news, articles and updates from KubeSphere


 Previous
